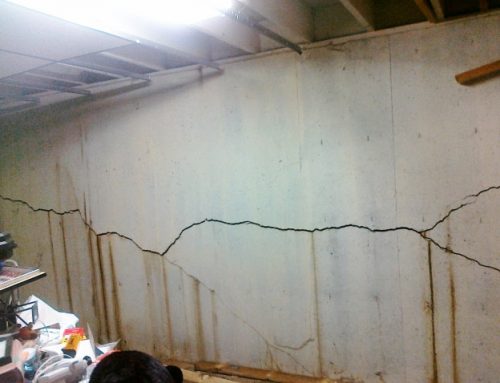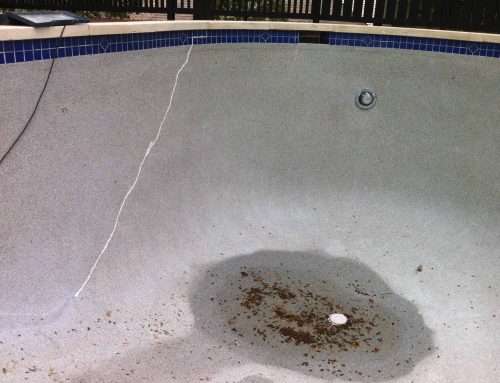
For this structural repair job, we were called to a pool that had previously undergone a leak detection and revealed some heavy structural cracking. What happens here is, we don't take someone else's word for it. While another professional may have reviewed the situation with the shell of the pool, we do a structural repair job completely – this way, nothing gets missed when we do the repairs.
We began our process with finding where the cracks were and deciding on how repairs would be made ourselves. The pool was green upon arrival and needed to be drained and cleaned. You'll see in the video, this also required using an acid-wash to get it clean. After what you see in the video, we also applied some cleaning to the walls due to a waterline stain that was caused from the pool sitting stagnant for as long as it did. You'll be surprised, what looks like the end of a pool to some is really a thoroughly repairable job.
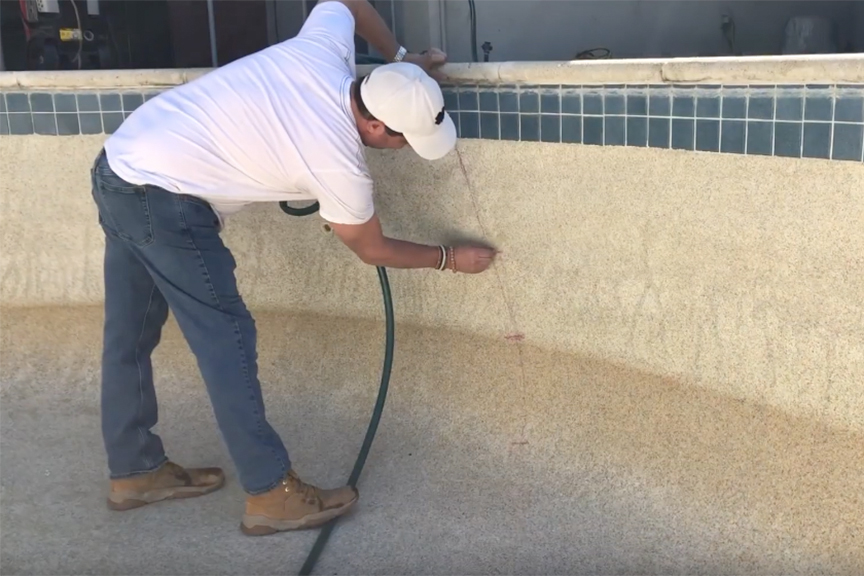
Once the pool was drained and cleaned, we misted and mapped the surface to bring out the full detail of structural cracks in the shell. Using a hose with a light mist, we wet the surface area. As it dries, the cracks hold the moisture and reveal their full length in the Gunite. It gives us a complete roadmap of where the work needs to be done. We marked the structural cracking locations for where repairs would be made and began cutting.
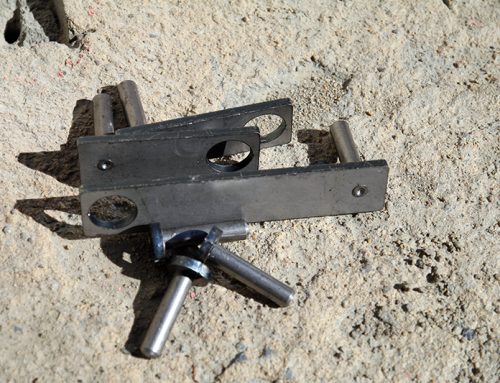
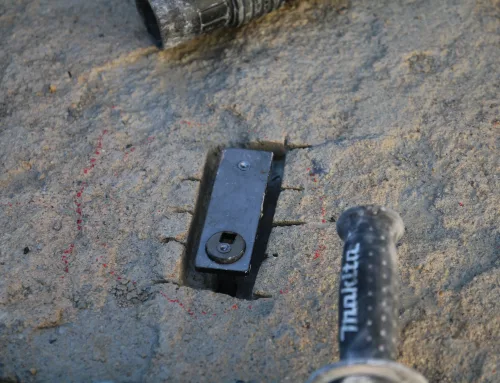
Using a hand grinder, we cut wide along the cracks, giving us room to properly install the Torque Lock Structural Staples. They are only patented post-tension controlled-compression staple on the market, and the only tool guaranteed to provide up to 5000 lbs of compression along both sides of a crack – assuring it won't separate, shear or re-crack in the future. With the channel cut wide, we marked where our staples would be set, drilled and chipped, then inserted the staples.
We applied approximately 24 lbs of torque to the staples to secure the area where each crack occurred and began the process of covering them with hydraulic cement. Once completely covered, we applied a waterproof coating for added protection after installation. We've now done all the work necessary to ensure that the pool is secured from further cracking and the areas around where the staples have been inserted are sealed up tight so no water will penetrate the area. The pool was now ready for re-applying the mud, as you'll see in the video.
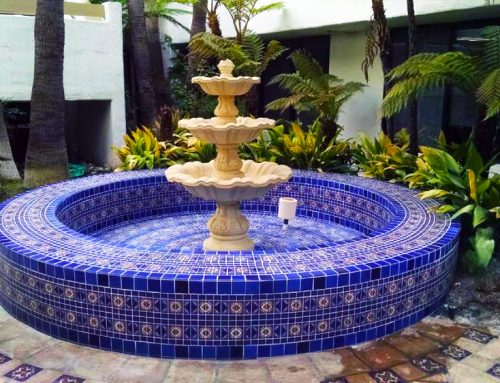
Having a professional familiar with color matching helps, you'll see how closely the new Pebbletec match was when the pool was complete. See the video to witness the pool being refilled and the surface looking as good as it possible could, with a pool repaired and ready for the oncoming summer season of swimming and enjoyment.
Direct Video Link: https://youtu.be/ZBcWhcjS5mU