INSTALLATION INSTRUCTIONS FOR THE TL 10-30-50 KITS
READ ALONG INSTRUCTIONS:
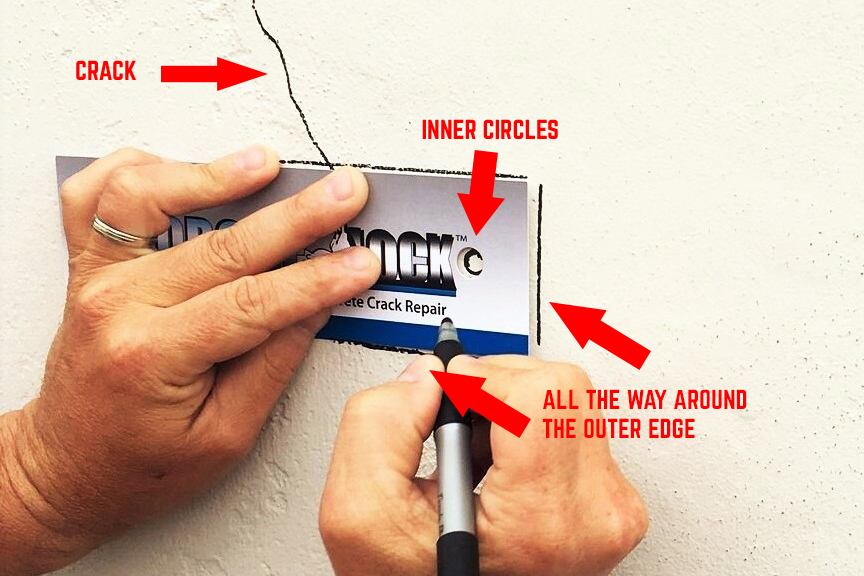
STEP 1: Using the rectangular templates provided in your Torque Lock Staple Kit, trace around the outside of the template and mark cutouts along the crack approximately every 12 inches – alternating between the large and small templates. Then using a pencil (preferred), trace the circles inside the template to mark where the holes will be drilled on either side of the crack.

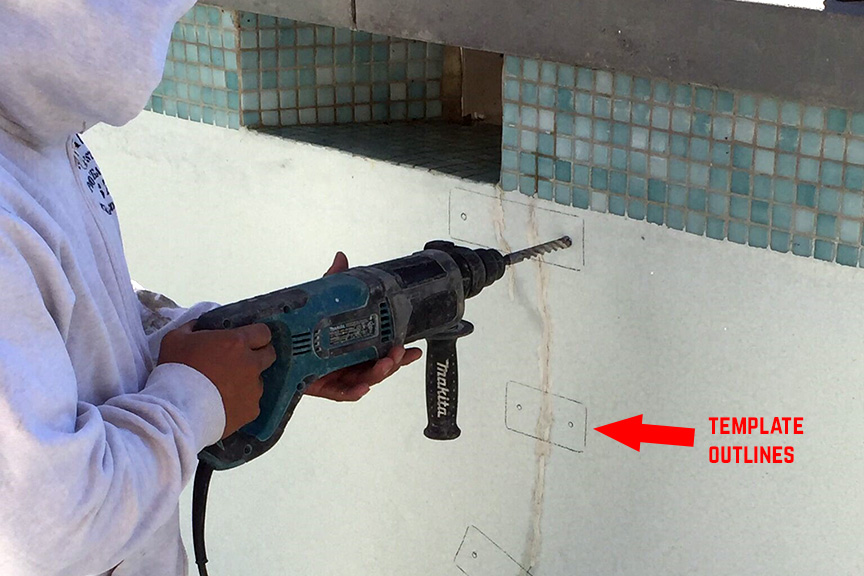
STEP 2: On drill markings (from those holes in the template), drill into structure a minimum of 4 inches deep using a ½ inch masonry bit. Then, using a masonry saw, cut into structure along marked lines approximately 2 inches deep and chip out that area that is cut. This is to recess staple.
[NOTE: If you should drill deeper than the recommended depth as described above, this will have no effect on the performance of the Torque Lock Staple.]

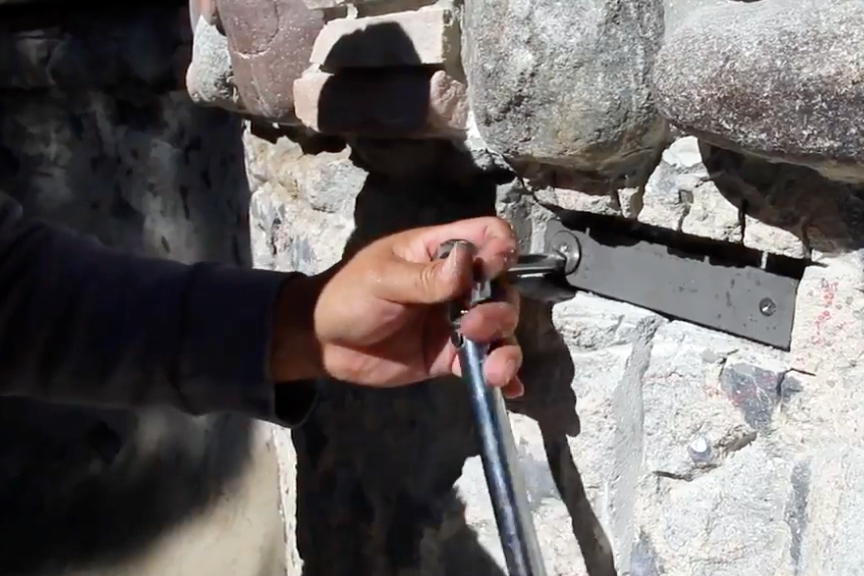
STEP 3: Assemble the unit first, then using the epoxy provided, apply into previously drilled holes. With both hands, slide pins into pre-drilled holes. Then, push the Torque Lock unit back until the locking plate is recessed approximately 1.5-2 inches into the wall.
[Note: It may be necessary to tap it back with a hammer and we can’t stress this enough. DO NOT GET EPOXY ON THE CAM OR LOCKING PLATE!!!]
IMPORTANT: MAKE SURE RATCHET SQUARE IS FACING INWARD WHEN SETTING STAPLES AS SHOWN

STEP 4: Making sure that the epoxy used is set up (read label for manufacturer instructions), and using a torque wrench and a 3/8th’s ratchet attachment, insert in ratchet square and tighten clockwise.
*PLEASE NOTE: If installing Torque Lock Staples in either a gunite or shotcrete application, it is recommended to achieve 22 lbs of torque on 6inch staples and 3inch staples.
*HOWEVER: If a structural crack has another crack within a 5 foot distance, the 6 inch and the 3 inch staples should be torqued at 12 lbs.

*IMPORTANT: DO NOT TIGHTEN ABOVE RECOMMENDED FT LBS OF TORQUE PRESSURE AS DESCRIBED ABOVE OR 180 DEGREES, WHICHEVER COMES FIRST.
STEP 5: Using a diamond or carbide blade, ‘v’ open crack between cut-outs. Be sure to clean out the crack and cut outs of all dust and debris.
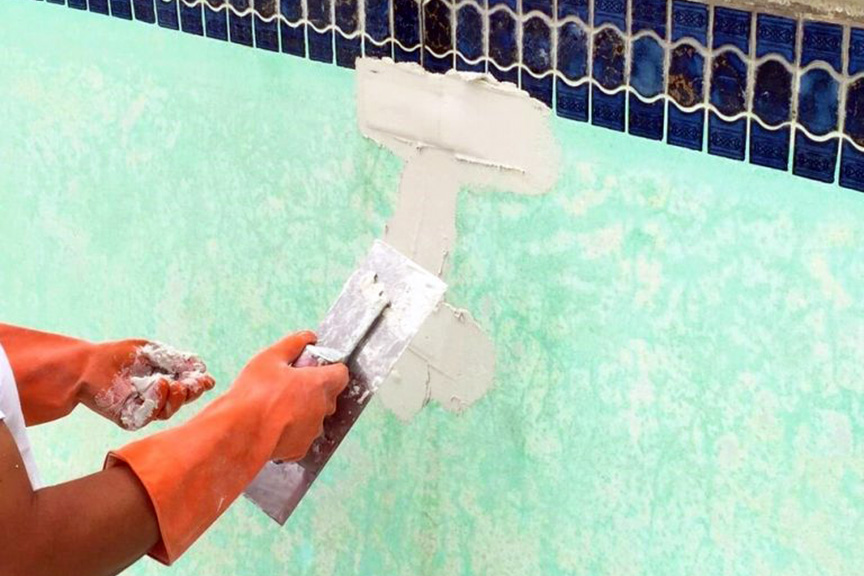
STEP 6: Using a non-shrinking cement (hydraulic cement), fill in the crack and cut outs. Use a trowel to pack in cement tightly, making sure you leave no voids. After finishing this process, you can cover the repaired area(s) with any finishing product preferred (plaster, paint, tile, marcite, cool deck, etc.)

